How to send a reconfirmation using Link to List addon
Sometimes, things change! Maybe you want to spruce up your list, or your government passes some kind of Anti-Spam Legislation, perhaps? It's never a terrible idea to send some reconfirmation emails to your subscribers. Let's explore!
Email Marketing offers a really cool feature called Link to List that you can use to catalogue and segment your subscribers, by sending them a simple email. You'll create an email with a link in it, that will add anyone who clicks it, to a new list in your Subscribers area. You can then follow-up however you wish, or even remove the folks who didn't click.
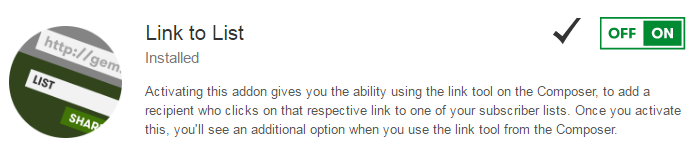
Step 1: Activate the Email Marketing Link to List Feature
- If you haven't already, log in to your Email Marketing account. (Need help logging in?)
- At the top of the screen, click the Add-ons tab, and then select Add more.
- Scroll to the Link to List Add-on.
- Turn it On.
Step 2: Create a List
Click on the Subscribers tab, and then click on the grey Add list button in the top left. You'll be able to name the list whatever you'd like. "Confirmed contacts" or "Yes" or "People who love me" are some suggestions that spring to mind. Click on the checkbox button, to save your list name, and you're all set.
Step 3: Create a Landing Page for your Clickers
Now, even though the sole purpose of clicking on this link that you're going to create is to be confirmed, and added to a list in your subscribers -- you still need to send those clickers somewhere. You can either create a static "Thank You" page on your site, or you can actually just create an Email Marketing campaign to use. Don't send this campaign! You're just going to use the permanent URL to the page, as your destination for the link.
If you're creating the page on your site, good luck! I'm sure you know what you're doing :) You can skip to Step 4, now.
If you're creating an Email Marketing campaign, to use as your landing page, read on...
Go back to the Campaigns page, and click the big Compose button in the top right. Design the page with whatever images and message you'd like your reconfirmed contacts to see. Maybe something like "Thanks so much! Stay tuned for me in your inbox!" -- or whatever suits your fancy.
When you've designed your landing page to your liking, make sure to save it, and then return to the Campaigns page. Click the Share button, under your campaign. The permanent URL for that campaign is already highlighted, for you. Copy the URL, and proceed to Step 4!
Step 4: Set up your Reconfirmation Email
All you need to do now is create the reconfirmation link, in the email that you're going to send. If you've already created your campaign, click on Edit. If you haven't, just clone an older campaign that you'd like to use as a template, or create a brand new one, from scratch!
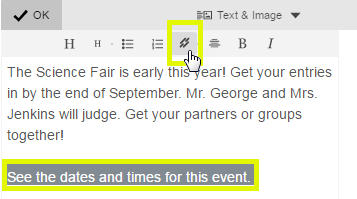
In any text module in your campaign, type in the text that you'd like to have your reconfirmation link say, highlight it, and then click the link button.
Now you have the chance to paste in the URL for the page that you want these reconfirmation clickers to be re-directed to -- this will either be your static page on your site, or the Email Marketing campaign that we created in the previous step. If you're familiar with this link screen, you'll now notice a new addition!
Tick the checkbox labeled "If the recipient clicks on this link, add them to a Subscriber list.", and then select the list we made in Step 2. If it all looks good, click the Save button.
Step 5: Assess your Results
Now you're ready to send your email! As always, make sure to send a test to yourself, to make sure everything looks, acts, and smells perfect. Then, send out your email, and watch the reconfirmations roll in.
Definitely be sure to give it time, in order to get the full engagement of your subscribers. And you could even follow-up personally with the folks who haven't clicked. Consider creating two links to lists in your reconfirmation email -- one for "Yes" and one for "No".
If you want any advice on this, or need any help, feel free to reach out! We're here for you :)
