Add Online Appointments section
The Online Appointments feature lets you specify what times your services are available. That makes it easy for your customers to book an appointment right on your website. You can list multiple services, set a price for each, and decide whether customers pay ahead of time or at the time of service.
Note: This feature is available only to Business Plus or eCommerce customers in the United States, United Kingdom, Canada, and Australia. Customers in those countries can upgrade to either plan at any time.
- Log in to your ITEGY account and open your product. (
- Click Edit/Edit Site.
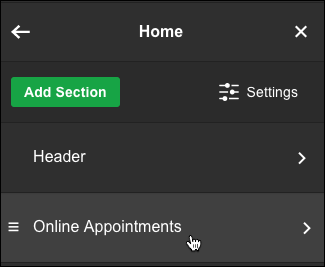
- Click the plus button to add a section to your page.

- Click Appointments in the Add Section panel and a Section added confirmation briefly appears.

- Now click the Online Appointments panel to begin customizing its settings.
- Enter a new Title if you don't want to use the default Online Appointments.
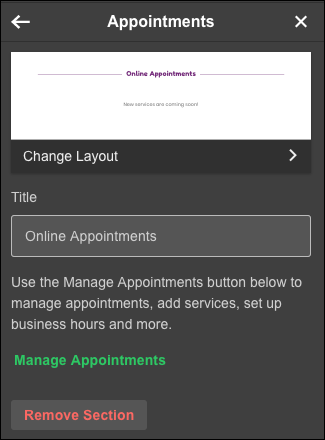
- Click Manage Appointments to open the Appointments Scheduling window and then click Start Setup.
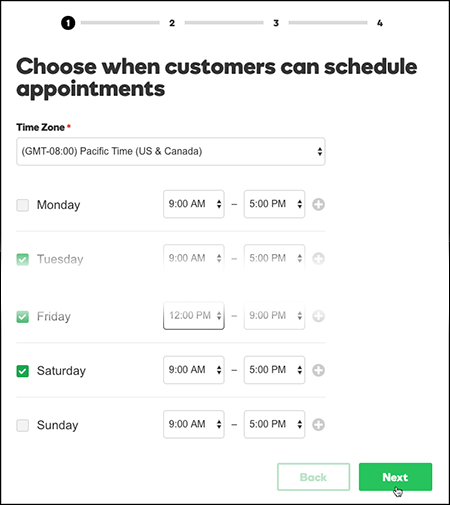
- Set your Time Zone, uncheck days when your services are not available, set opening and closing times for the other days, and click Next.
- Use the Services window to create a service with its price, duration, optional description, and location. When you're done, click Save.
- Click Add Service and repeat Step 10 to create all the services you offer. When you're done, click Next.
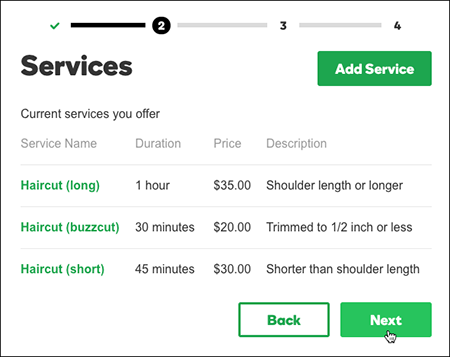
Note: If you leave a service set to $0.00, the customer won't be charged — even if you've specified upfront payment.
- Fill in the Notifications and Address fields. The Notifications fields enable you to receive an alert when you have new appointments. The Address fields enable your customer to find your location. When you're done, click Next.
- Use the Payment Settings window to select how you want to be paid. Click Next.
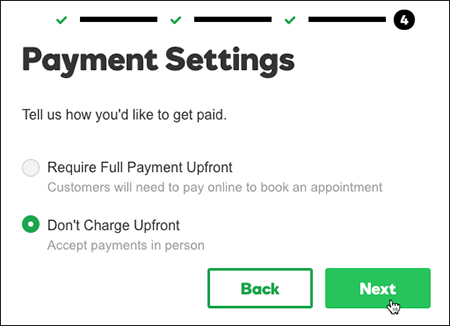
Note: You'll need to create a Square account if you choose the Require Full Payment Upfront option.
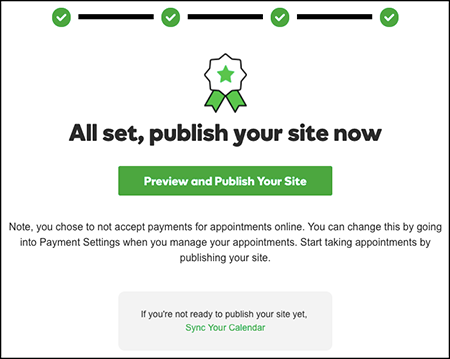
- In the All set, publish your site window, click Preview and Publish Your Site if you're ready for customers to start booking appointments. Or click Sync Your Calendar if you want to see customer appointments in your personal calendar.
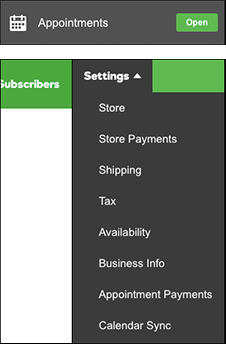
Note: From now on, you can change appointment-related settings by clicking Open in the new Appointments panel. Then choose Availability, Business Info, Appointment Payments, or Calendar Sync in the Settings menu.