Create blog posts
Your website's blog lets you write a new post, format it, add a photo and publish it right away. Not sure what to say? Draft versions are saved automatically, so just jot down a quick idea and finish it when you're ready.
- Log in to your ITEGY account and open your product. (
- Click Edit/Edit Site. (If you're using the Website Builder Online Store, click Manage Store, then Website in the top green bar.)
- Click Open in the My Blog panel.
- In the Manage Blog window, click New Post.

- Start by clicking Type Your Title Here and enter your own title.
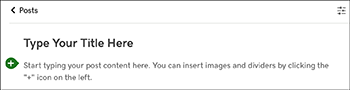
- To write the main part of your post, click the Start typing… line and enter your own text.
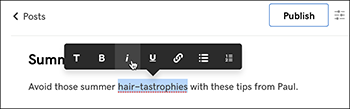
- To format or link any text, select it and a toolbar appears, which you can use to apply what you need.
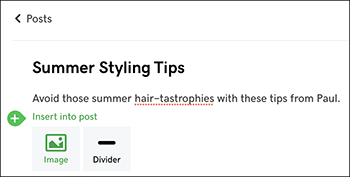
- When you press Enter/Return to start a new paragraph, you can keep typing to add more text. Or click the plus symbol that appears to insert a photo or horizontal dividing line.
- In the Image Library, click the My Uploads tab to use one of your own images. Or click the Stock Images tab, enter relevant keywords and click magnifying glass button to find related free stock images.
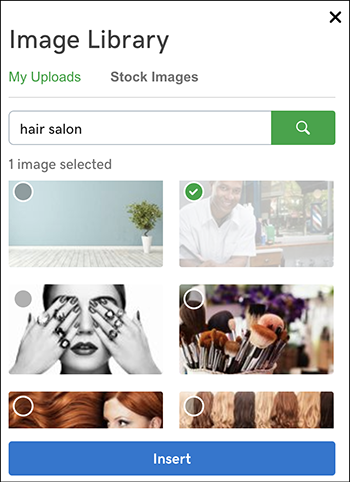
- When you find an image you want to use, click it to add a check mark and click Insert. The image will be added to the blog post.
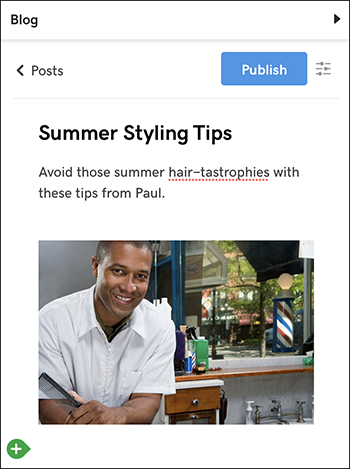
- Once you're ready to share your post with the world, click Publish. When the confirmation window appears, you can click View Post to see how it looks to your blog's visitors.
