Make an SQL dump file
Note: This is the second part of manually migrating a WordPress site to your Pro Managed WordPress account. If you don't have a Pro Managed WordPress account, you can learn more about them here.
| Part 1: Copy the wp-content folder | Part 2: Make an SQL dump file |
| Part 3: Upload the site content | Part 4: Update the site database |
| Part 5: Change the table prefixes | Part 6: Make final edits |
In this step, you're going to create an SQL "dump file" from the database for the WordPress site you are manually moving to a Pro Managed WordPress account. This step should take five to ten minutes.
How you create the "dump file" depends on your current host. This procedure assumes that you (like many WordPress users) are using cPanel, and we'll get this done using phpMyAdmin.
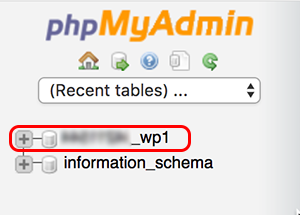
- Log into your cPanel hosting account for the WordPress site and start phpMyAdmin.
- In the list of databases, click your WordPress site database.
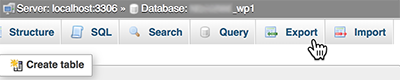
- In the top menu bar, click Export.
- In the Export Method list, select Custom, and then in the Table(s) box, click Select All.
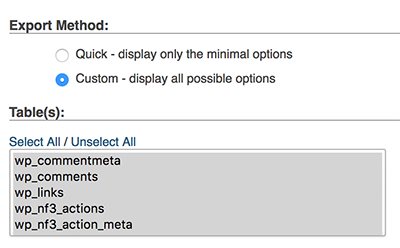
- In the Format list, make sure SQL is selected (that's the default).
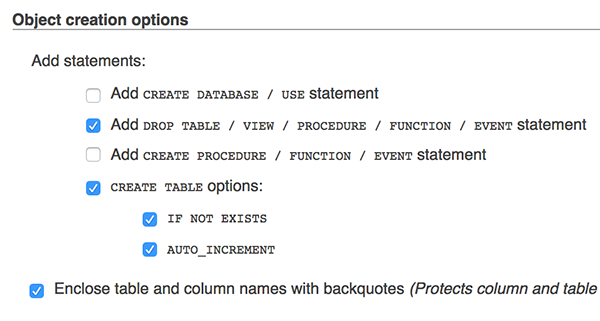
- In the Object creation options list, select:
- Add DROP TABLE/VIEW/PROCEDURE/FUNCTION/EVENT statement
- CREATE TABLE options, and its options IF NOT EXISTS and AUTO_INCREMENT
- Enclose table and field names with backquotes
- If your database is larger than 300MB (for example, if you have lots of posts, comments, additional media, and so on), change Maximal length of created query to 1047551. Otherwise, leave this value alone.
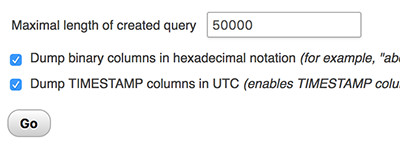
- Click Go. A file with extension .sql is exported to the default download location on your computer.
Next step
- Part 3: Upload my site content
