View my staging site
After you create a staging site for your Managed WordPress account, you can view your staging site to preview your site changes before bringing them live.
- Log in to your ITEGY account.
- In your My Products page, next to Managed WordPress, click Manage All.
- Choose the set of instructions for the type of hosting manager you are using.
Note: If you're not sure what type of hosting manager you are using, see What type of hosting manager am I using?.
Gateway
- Click Manage next to the site you want to use.
- Click the link to your Staging site.
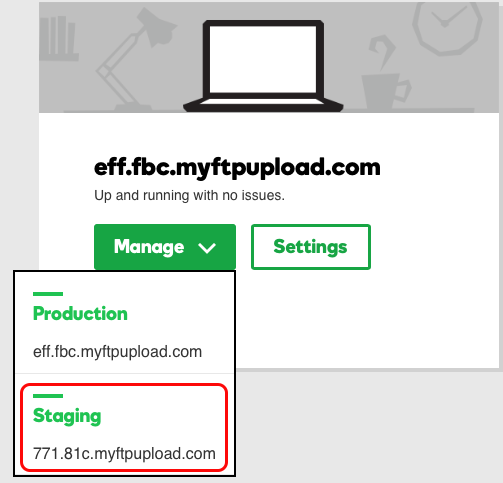
- Use your WordPress username and password to log in to WordPress to view your staging site.
My Hosting
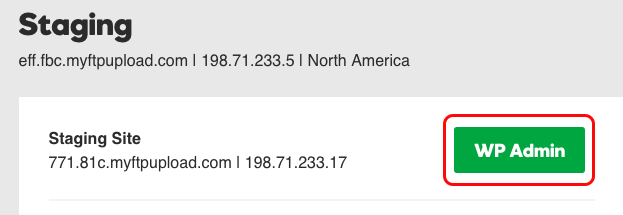
- Click Settings under the site you want to use.
- Click Staging in the top green menu bar.
- Click WP Admin to get into your WordPress staging site.