Website Security - IP Access Control
Website Security has the ability to whitelist and blacklist IP addresses from accessing your site via the Firewall feature.
To authorize IP addresses to access your site, you will need to whitelist them in the firewall settings. To restrict access to unwanted users, you will need to add them to the blacklist.
- Log in to your ITEGY account. (Need help logging in?)
- Select My Products.
- Under Website Security, select Manage next to your domain.
- In the green menu bar, select Firewall.
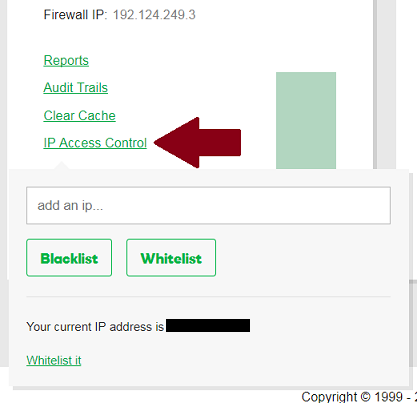
- In the menu under your domain, select IP Access Control.
- Enter the IP address you wish to whitelist/blacklist and choose the corresponding option.
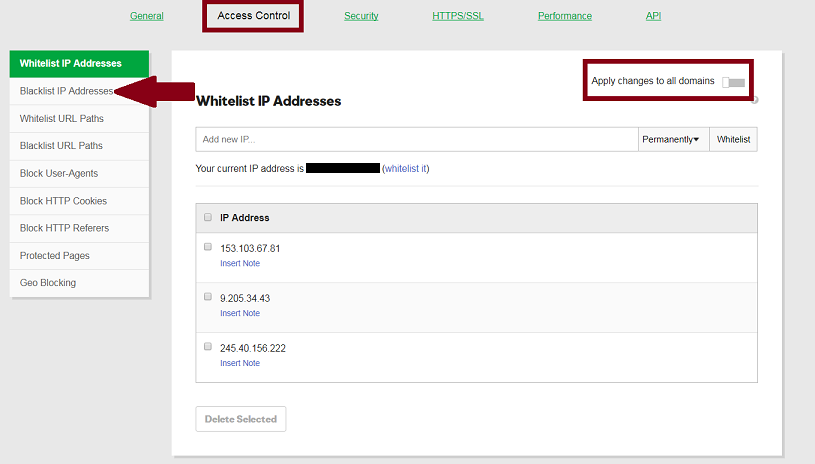
Apply changes to all domains
If you have multiple Website Security plans, you can whitelist/blacklist IP addresses for all domains configured in Website Security via Access Control.
- Log in to your ITEGY account. (Need help logging in?)
- Select My Products.
- Under Website Security, select Manage next to your domain.
- In the green menu bar, select Firewall.
- Click directly on any domain.
- Select Access Control.
- In this section you can choose the option to Apply changes to all domains, then enter the respective IP address(s).
Note: The option to Apply changes to all domains will not show for accounts with a single domain.
Note: It is helpful to clear the cache after whitelisting or blacklisting an IP address
