Outlook 2010: Manually set up email
Note: These instructions are only applicable to Outlook 2010 on a PC. Click here for other Outlook versions.
- Open Outlook.
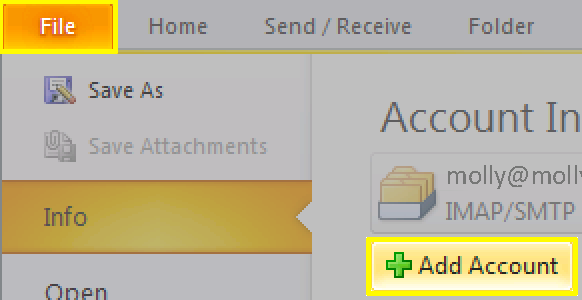
- Click File.
- Click Add Account.
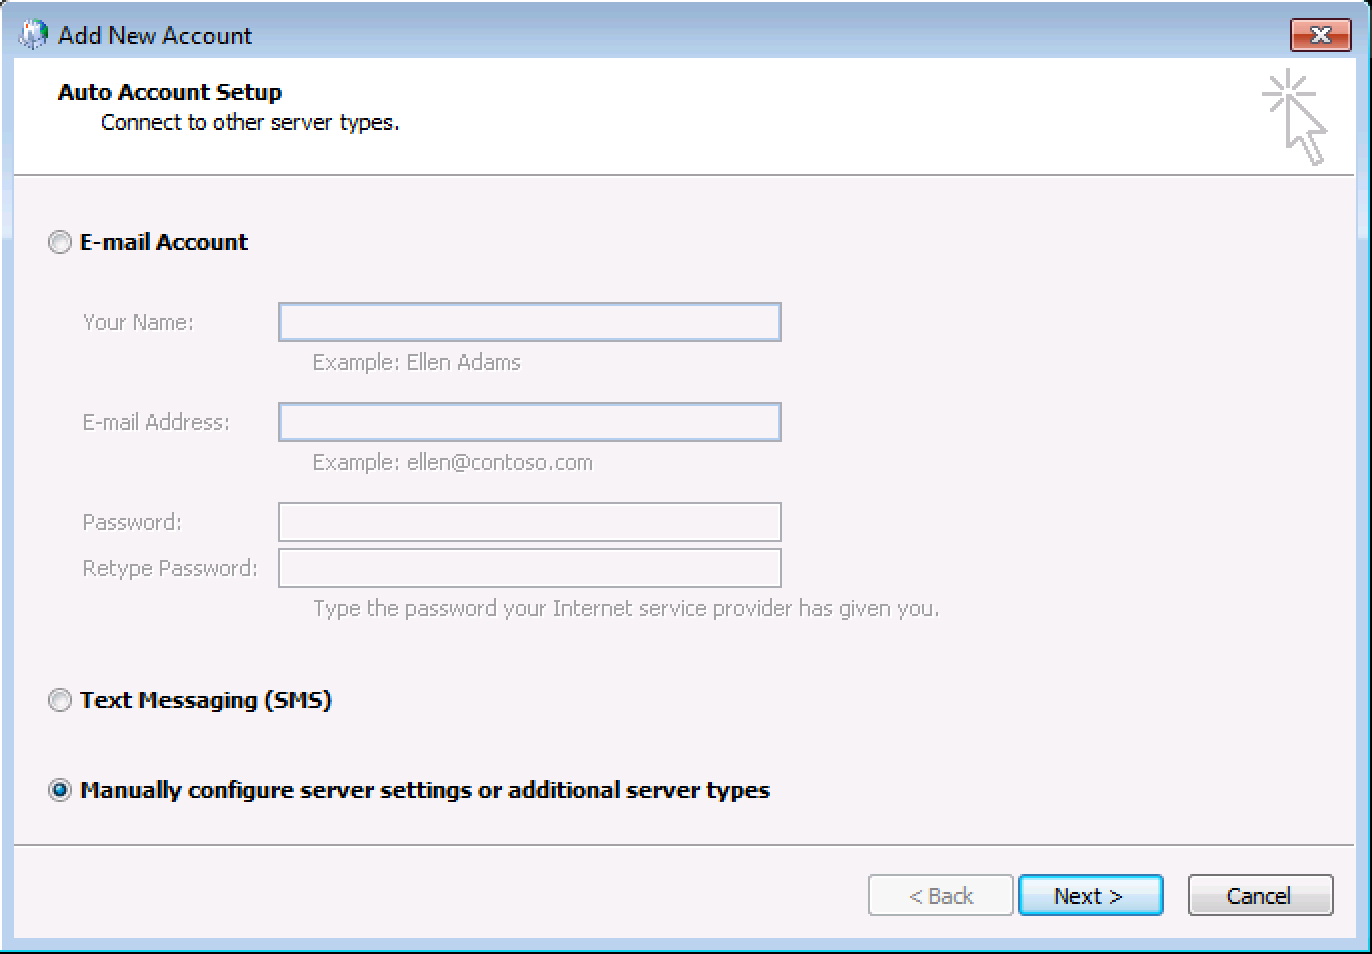
- Select Manually configure server settings or additional server types, and then click Next.
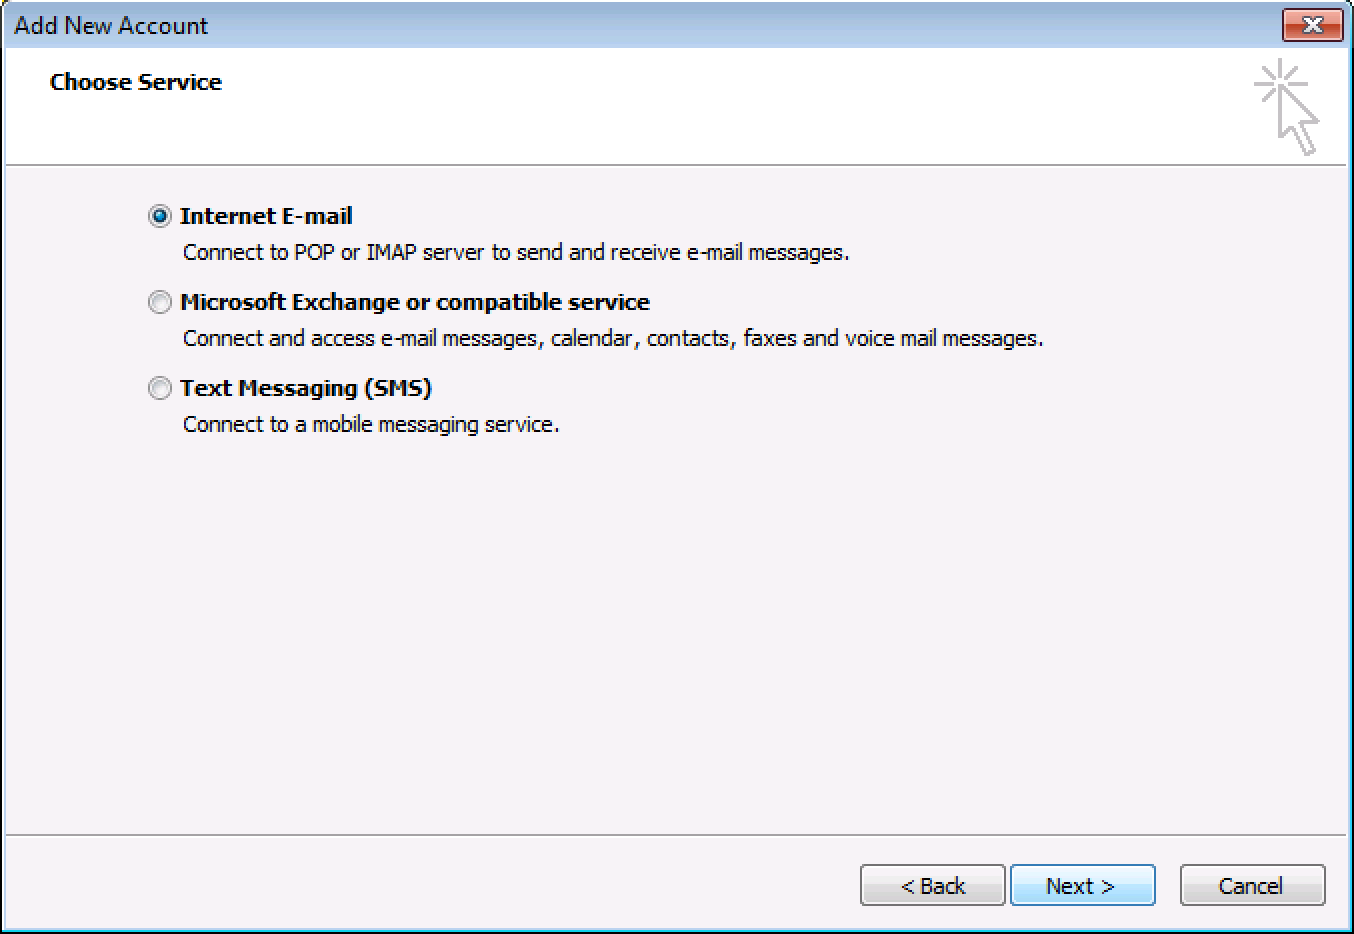
- Select Internet E-mail, and then click Next.
- Complete the following fields:
Field Enter Your Name What you want your display name to be for this account Email Address Your full Workspace email address Account Type Select either POP3 or IMAP, depending on your account.
Not sure? Learn how to find out what account type you have.Incoming and Outgoing mail server Enter the server addresses displayed in your Email Setup Center.
Read more about the Email Setup Center.User Name Your full Workspace email address Password Your Workspace email account password Remember password Select this option Require logon using Secure Password Authentication Deselect this option 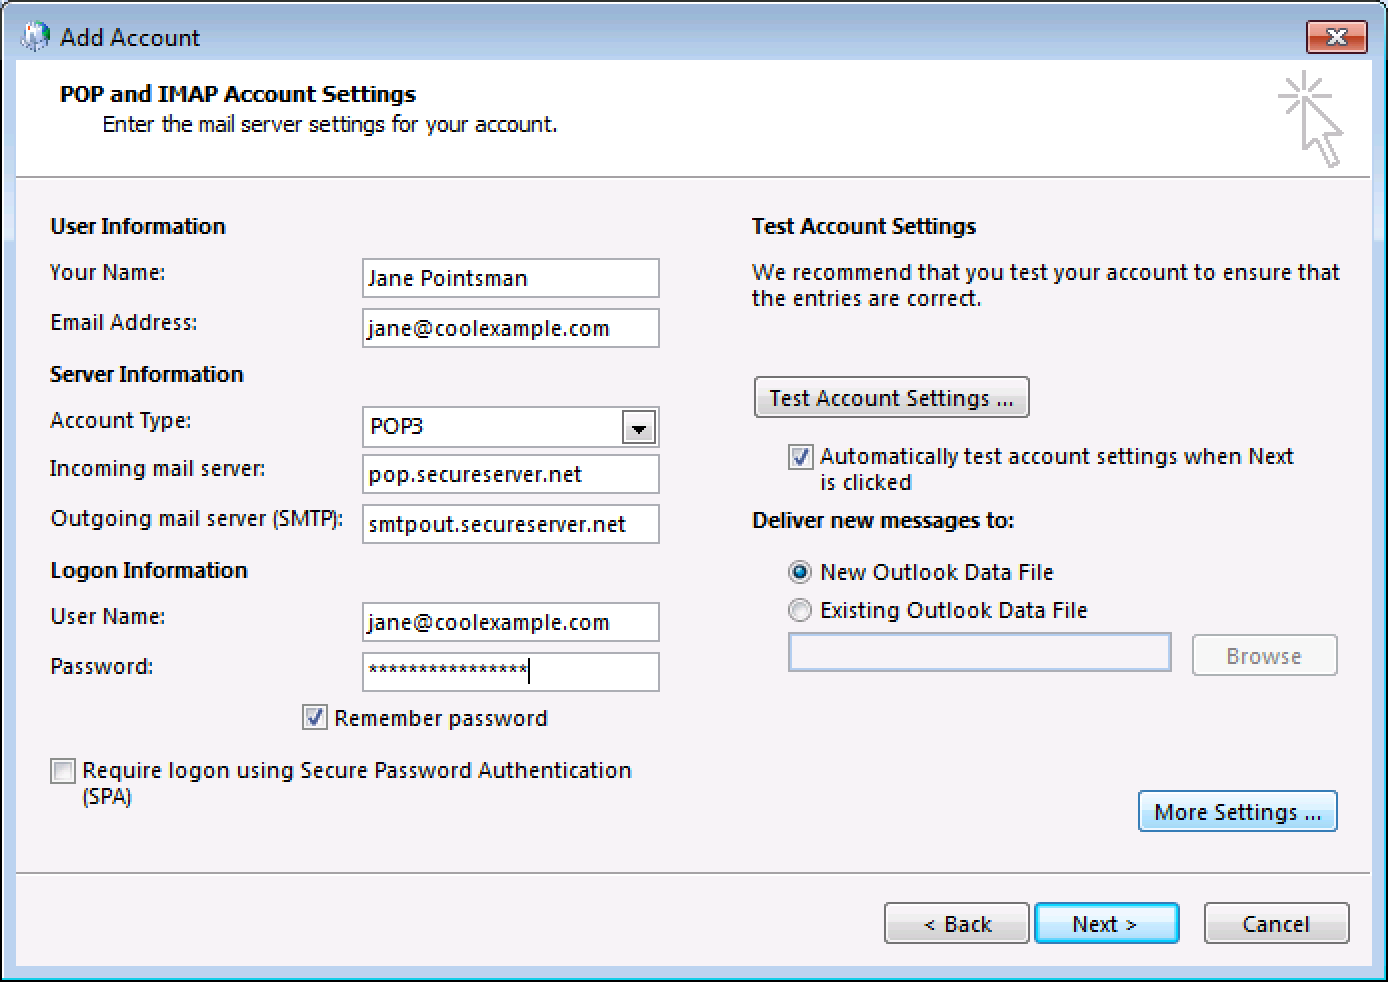
- Click More Settings...
- Go to the Outgoing Server tab, and then complete the following fields:
Field What to do... My outgoing server (SMTP) requires authentication Select this option Use same settings as my incoming mail server Select this option 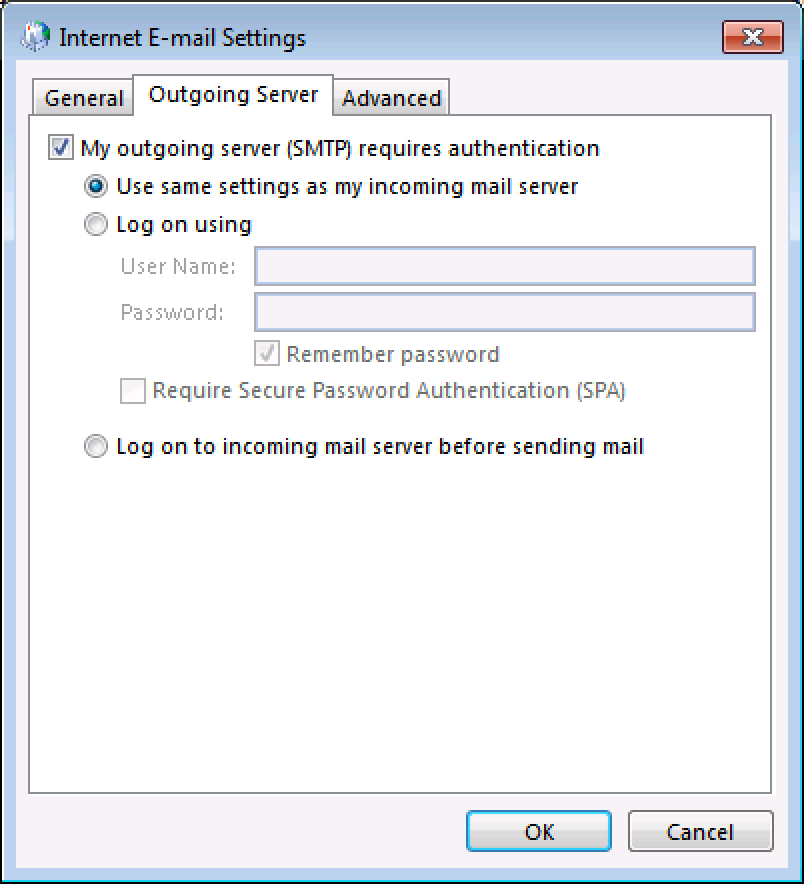
- Go to the Advanced tab, and complete the following fields:
Field What to do... Incoming server Enter one of the incoming ports, listed in your Email Setup Center. This server requires an encrypted connection (SSL) If the port is listed in black in your Email Setup Center, deselect this option. If it is listed in orange, select this option. Outgoing server (SMTP) Enter one of the outgoing ports, listed in your Email Setup Center. Use the following type of encrypted connection If the port is listed in black in your Email Setup Center, set this to None. If it is listed in orange, set this to SSL. Server Timeouts This selection is up to you. Leave a copy of messages on the server This option is up to you. If you have a POP account, and you will be using more than one way to access your email, you should select this. Leaving a copy on the server will use up your email storage limit, faster.
Learn about the differences between POP and IMAP for more.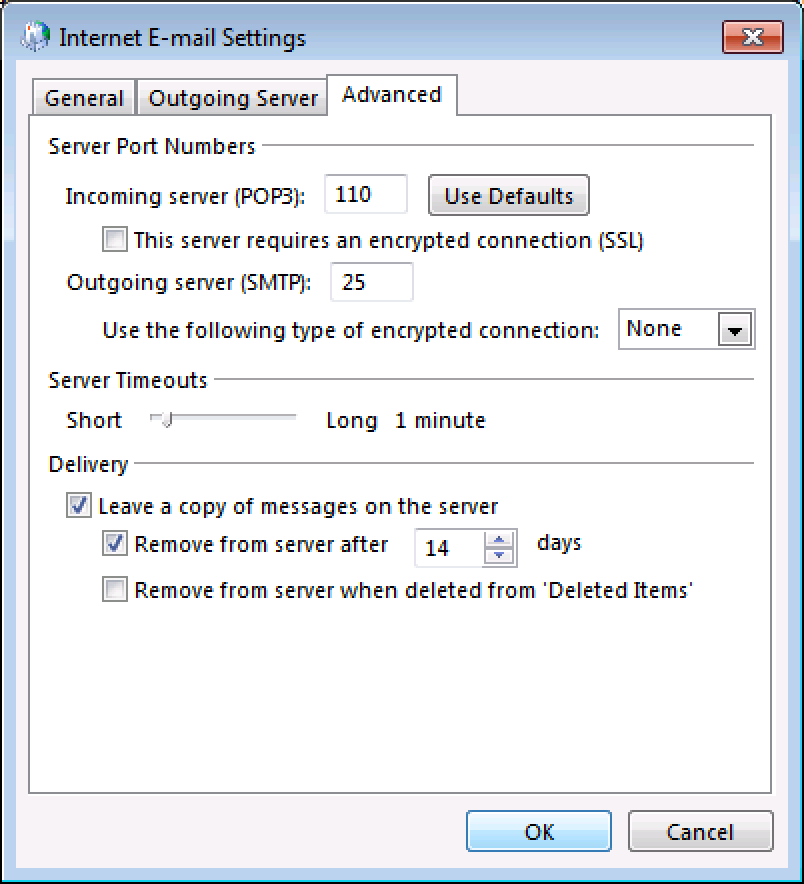
- Click OK.
- In the Add Account window underneath, click Next.
- Click Finish.
Note: As a troubleshooting step, select Log on using. Then enter your User Name, and Password. Use your full Workspace email address as your User Name.
Next steps
You now should be able to open Outlook and send and receive your Workspace email. If you are still having trouble, check out: Outlook 2010 and 2013: Troubleshooting Email
