Set up my forwarding email address
Learn how to set up a Workspace forwarding email address to allow you to forward your messages to another email acoount. (What is the difference between regular email and a forwarding email account?)
Buying domains through ITEGY includes an email forwarding credit for each domain you purchase. Each forwarding credit includes 100 forwarding email addresses.
Note: If you want to use an email address that you've already set up with email as your forwarding account, you'll need to delete that address or you can set up forwarding copies of incoming emails to another inbox.
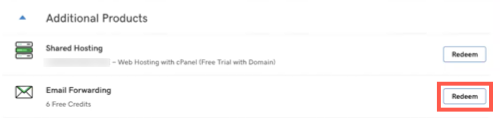
- Log in to your ITEGY account, go to My Products and scroll to the Additional Products section. (Need help logging in?)
- Click Redeem next to Email Forwarding.
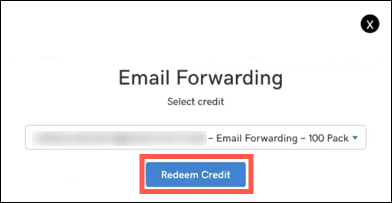
- Select the domain associated with your email forwarding account and click Redeem Credit.
Note: Email forwarding credits come attached to a specific domain name. When you create an email forwarding account, you can attach a forwarding credit to any domain within your account.
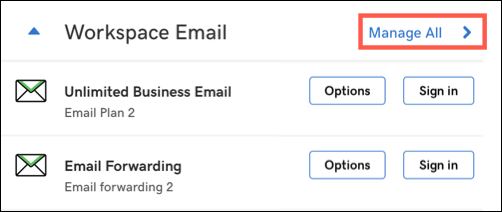
- Go to the Workspace Email section and click the Manage All link to open the Workspace Control Center.
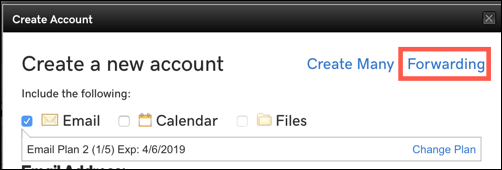
- In the Workspace Control Center click Create.
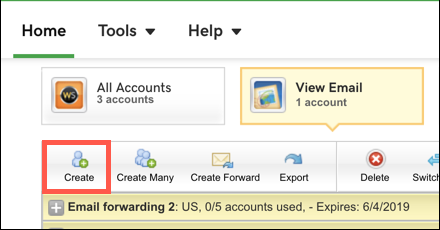
- Click Forwarding.
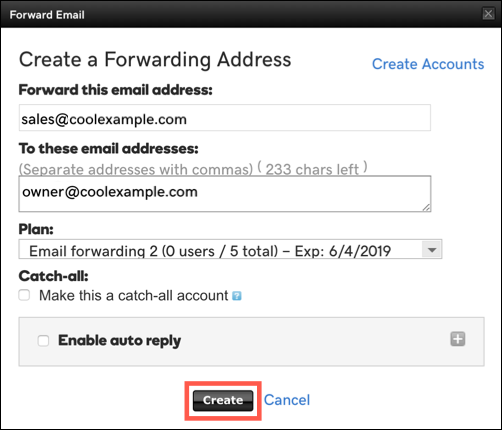
- Complete the following fields:
Field What to do... Forward this email address: Enter the email address you want to create. After you type @, you will be able to select any domain in your account. To these email addresses: Enter the email addresses you want to receive the forwarded email. You can enter multiple addresses, but they must collectively fit the 250 character limit for this field. Plan Select the forwarding plan you want to use. Catch-all Select this option if you want this address to receive email sent to addresses at your domain name that do not exist. Enable auto reply Select this option, and fill out the additional fields, if you want to send an automatic reply to everyone who sends email to this address. - Click Create to finish the email forwarding email address process. It can take a few minutes to display your new forwarding email address, you may need to refresh the page to see it.
Note: If Workspace cannot create a forwarding email account, confirm your MX records match your domain. If your MX records do match your domain then copy and add an MX record to your domain or edit an existing MX record.
